Introduction
The goal of this assignment is to take the digitized Prokudin-Gorskii glass
plate images and, using image processing techniques, automatically produce a
color image with as few visual artifacts as possible. In order to do this, we
extract the three color channel images, place them on top of
each other, and align them so that they form a single RGB color image.
IMPORTANT NOTE: For clarity, this webpage contains a link where images before and after alignment are
displayed. For the webpage pdf, this other page has been attached at the bottom for convenience of viewing.
Clicking links to Images and Cropped Images below will lead to the aforementioned pages.
Less Important Note: For this exposition, we use notation \([-3,3]\) to denote the set \(\{-3,-2,-1,0,1,2\}\).
Section 1: Methods Used
Single-Scale Alignment for low-resolution images:
For smaller images (stored in .jpg format: cathedral.jpg, monastery.jpg, tobolsk.jpg), a simple 'single scale' implementation was used. Using the BLUE frame as a base, we exhaustively search for the optimal displacement (judged by a similarity metric) within a specified search space. The RED/GREEN frames are then displaced accordingly to produce the desirable alignment for all 3 frames.
1. Search space used was \([-15,15]\). I experimented with larger and smaller search spaces, but for the given low-res images, most displacements were \(\le 10\), making the search range above sufficient.
2. Similarity metric: We need to use some kind of metric to evaluate how `well-aligned` the RED frame is on top of the BLUE frame (resp. GREEN). I tried using an \(\ell^2\) norm, an \(\ell^1\) norm, normalized cross-correlation, and SSIM as metrics. Out of these, the metric that consistently produced good images was the \(\ell^1\) norm.
This leads to the natural question of why that is the case. The \(\ell^2\) norm penalizes pixels with high values a lot more (due to squaring) than the \(\ell^1\) norm. As a result, using \(\ell^1\) ensures that a certain
displacement is not misjudged as a whole due to outlier behavior towards the borders of the image.
3. I tried using a Sobel filter for edge detection to improve the alignment (focusing on salient features of the image to align first), however, the resulting images were more blurry than before. I suspect this is because the images are low-res enough that we cannot form distinguished edges well-enough, causing the aforementioned bad images.

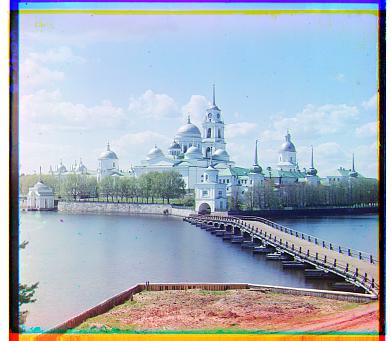
Example of single-scale alignment for monastery.jpg.
Image Pyramid Alignment for high-resolution images:
For larger images (stored in .tif format), a naive single-scale approach is not practical for two primary reasons:1. The pixel array has larger shape, which makes our exhaustive search take longer.
2. The optimal displacement is likely larger than what the initial search space \( [-15,15] \) explores; for instance, \( (50,23) \) for RED and \( (107,40) \) for GREEN works well for emir.tif. We would need to expand our search space to something of the order \( [-100,100] \) to produce a sharp image with exhaustive search, which blows up the runtime.
The remedy to these issues comes from using an image pyramid. The idea is to repeatedly scale the image (factor of \( 2 \) chosen) until the pixel array is of reasonably small dimensions.
(i) First, at level \(i\) of scaling (that is, image is scaled by \( 2^i \) ), we find the optimal displacement \( d_i \) for the scaled versions using a smaller search space, starting from \( i=L\) (maximum scaling) all the way to \(i=0\). Specifically, the smaller search space used was \([-4,4]\)
(ii) For the original image, the corresponding displacement we implement is \( D_i = 2^{i}\cdot d_i \).
(iii) We add the optimal displacements to generate the best displacement for the original image: \[ \text{best displacement} = \sum_{i=0}^L D_i = \sum_{i=0}^L 2^i \cdot d_i \] (iv) The final step is to translate the original RED/GREEN frame by the best displacement to generate our aligned frame. Note that this allows us to explore a wider range of displacements while saving on computational cost, due to the weighting by doubling factor \( 2^i \). Empirically, L=6 was the maximum depth of doubling chosen.
Additionally, a Sobel filter was used for edge detection to improve the alignment, focusing on salient features of the image (the edge borders of major objects) to align first.

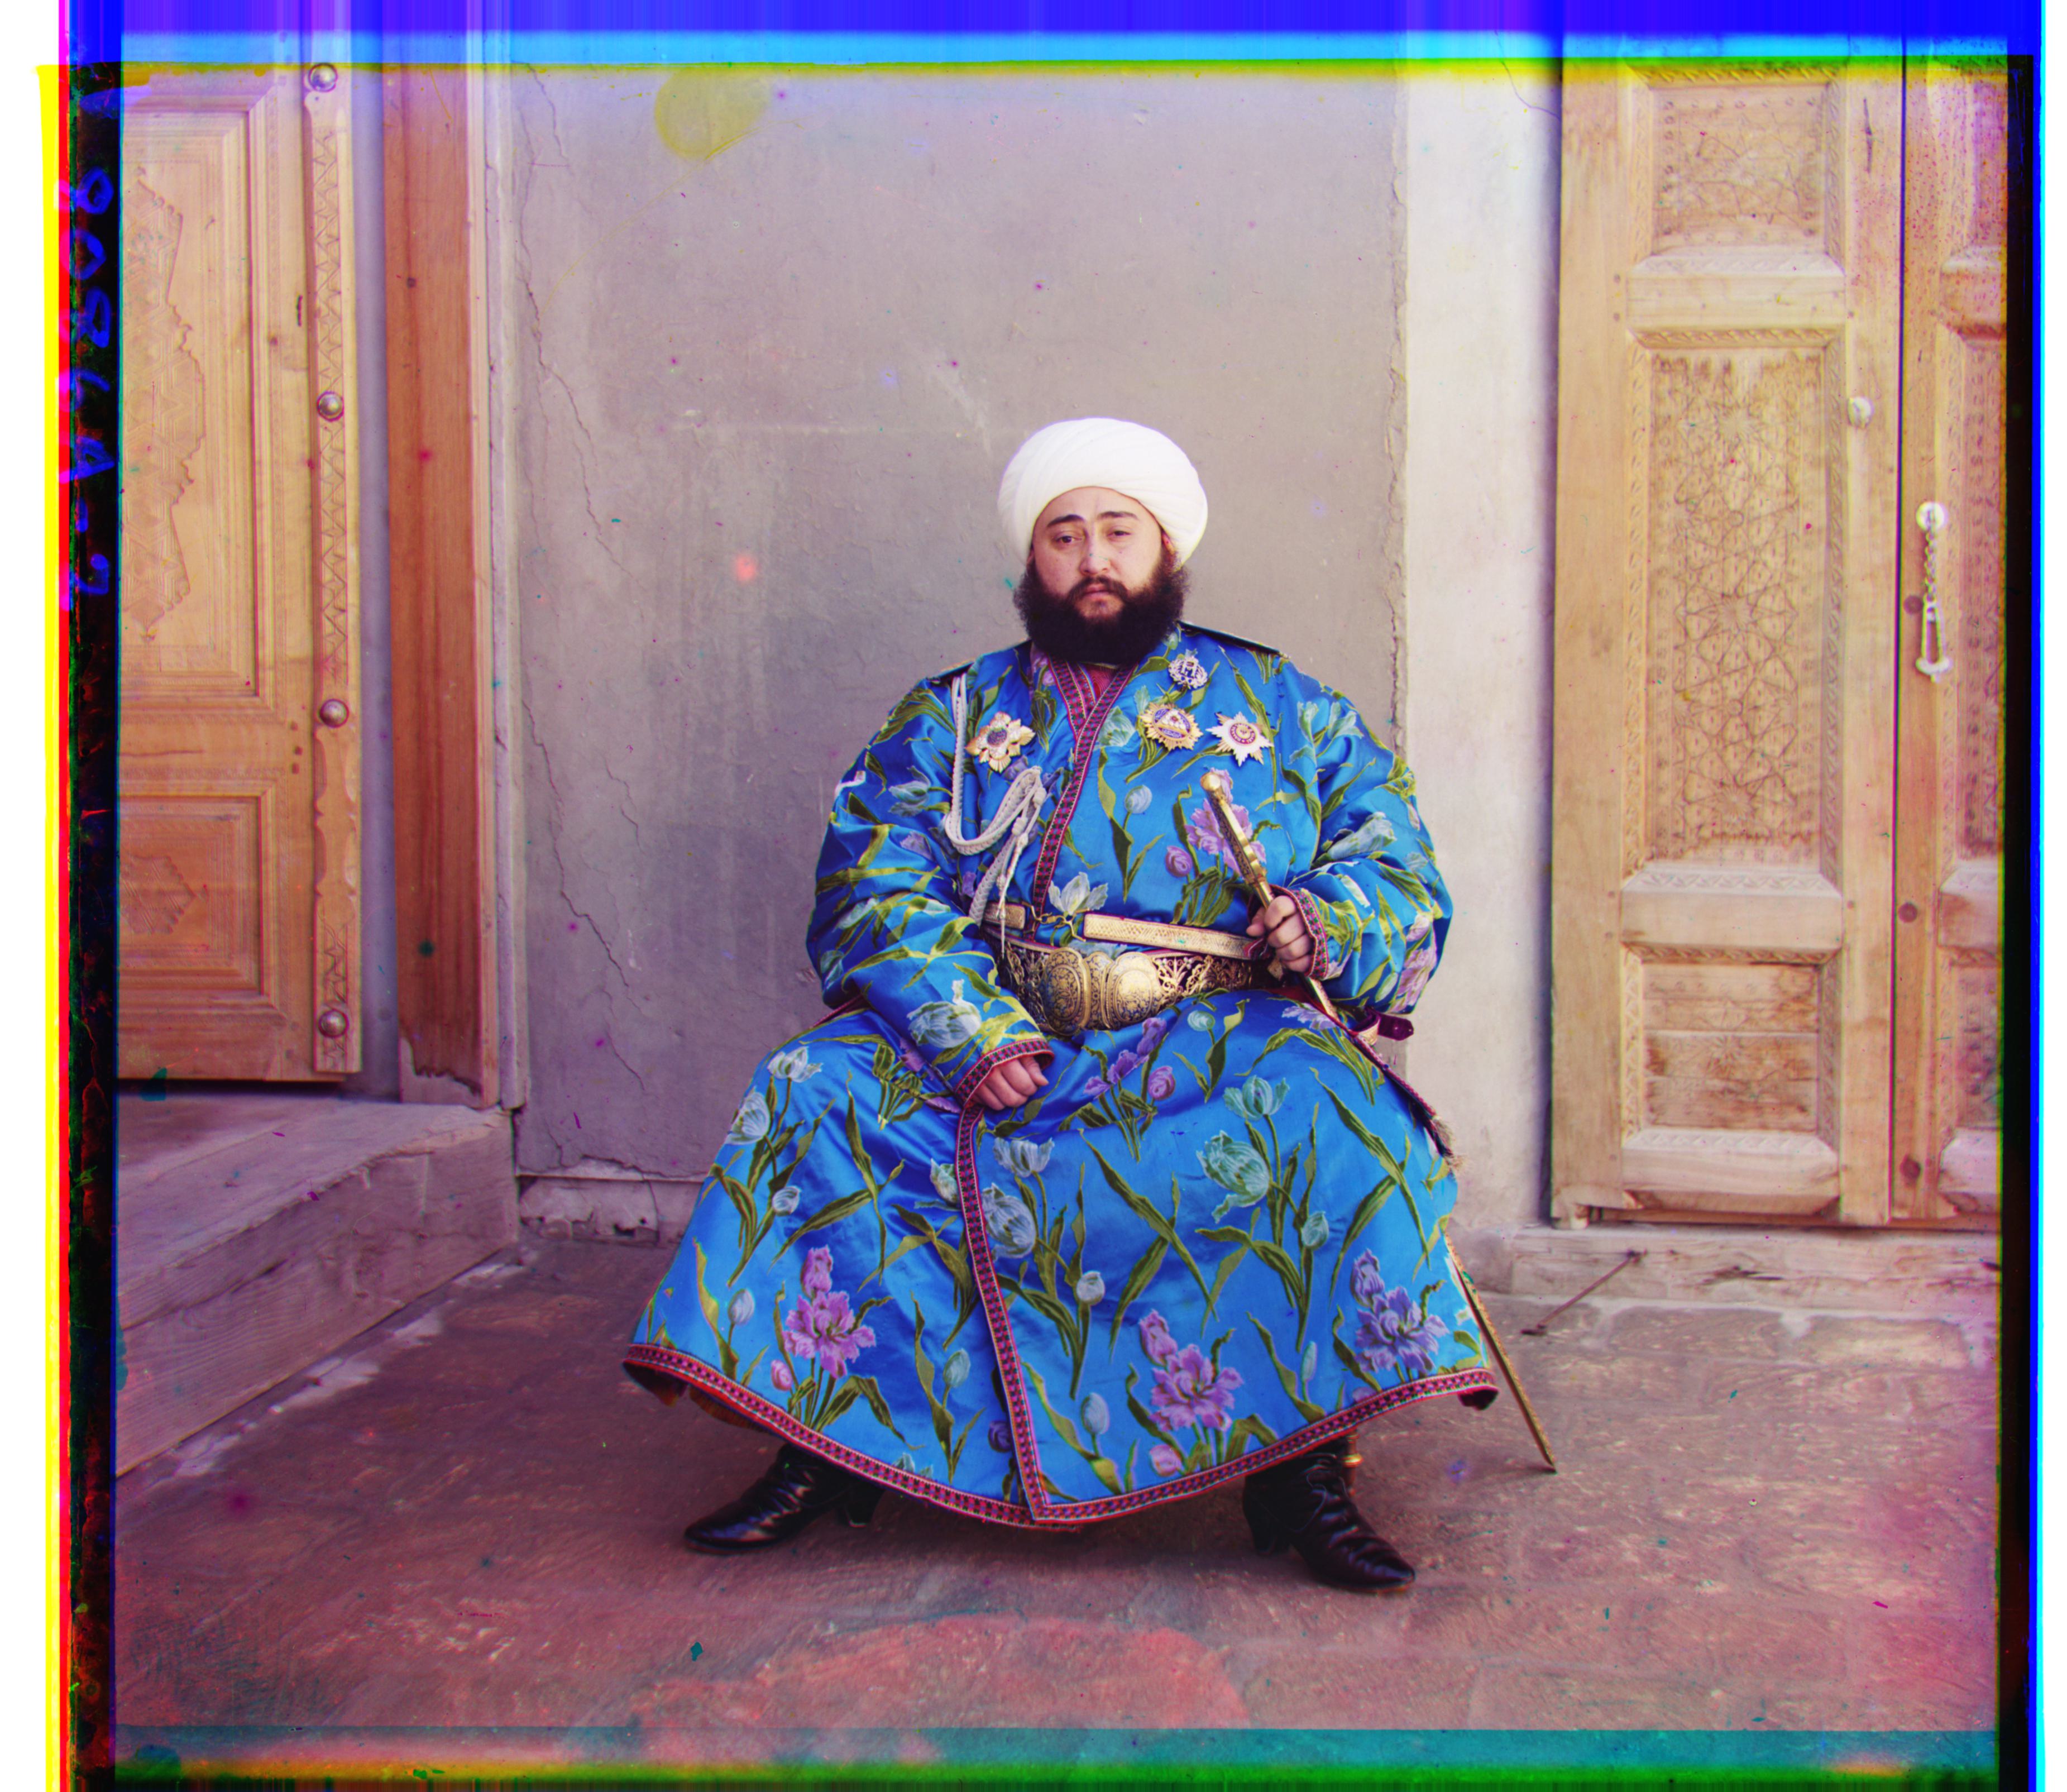
Example of Image Pyramid alignment for emir.jpg.
Bells and Whistles: Contrast Normalization and Cropping
I also tried using contrast normalization and cropping to improve the aesthetic view of the images. For contrast normalization, the formula used was \[ \text{image}_{ij} \leftarrow \text{image}_{ij} - \min(\text{image}) \] \[ \text{image}_{ij} \leftarrow \frac{\text{image}_{ij}}{\max(\text{image})} \] While this produced slightly more natural colors for the images, the result is barely noticeable. In the future, I think stronger contrast normalization techniques need to be used for a more discernable impact.For cropping, I used a straightforward approach of removing 5 percent of the image from all sides. This was pretty comprehensive in removing the borders, producing cleaner images.
The results are available to view in the Cropped Images section of Results below.
Section 2: Results
Images
Here we present all generated images. Images are divided into three sections:
1. Low resolution .jpg files
2. High resolution .tif files
3. Additional .tif photos taken from the Library of Congress, from the Prokudin-Gorskii photo collection
Click on the following link to view the images
ImagesFor the contrast-normalized and cropped images (compared to outputs above), click the next link
Cropped ImagesData
| Image | GREEN Displacement | RED Displacement | Approach Used |
|---|---|---|---|
| cathedral.jpg | \( (1,0) \) | \( (8,-1) \) | Single-Scale Exhaustive search |
| monastery.jpg | \( (-3,1) \) | \( (3,2) \) | Single-Scale Exhaustive search |
| tobolsk.jpg | \( (3,2) \) | \( (6,3) \) | Single-Scale Exhaustive search |
| church.tif | \( (25,3) \) | \( (58,-4) \) | Image Pyramid |
| emir.tif | \( (50,23) \) | \( (107,40) \) | Image Pyramid |
| harvesters.tif | \( (60,17) \) | \( (124,11) \) | Image Pyramid |
| icon.tif | \( (41,16) \) | \( (90,23) \) | Image Pyramid |
| lady.tif | \( (59,-10) \) | \( (123,-21) \) | Image Pyramid |
| melons.tif | \( (80,10) \) | \( (177,12) \) | Image Pyramid |
| onion_church.tif | \( (52,24) \) | \( (107,35) \) | Image Pyramid |
| sculpture.tif | \( (33,-11) \) | \( (140,-26) \) | Image Pyramid |
| self_portrait.tif | \( (78,29) \) | \( (176,37) \) | Image Pyramid |
| three_generations.tif | \( (55,12) \) | \( (111,8) \) | Image Pyramid |
| train.tif | \( (41,1) \) | \( (85,29) \) | Image Pyramid |
| camel.tif | \( (22,15) \) | \( (81,39) \) | Image Pyramid |
| creepy_nun.tif | \( (48,19) \) | \( (109,34) \) | Image Pyramid |
| view.tif | \( (34,-14) \) | \( (78,-25) \) | Image Pyramid |
Conclusion
Using these simple techniques, most of the generated images are sufficiently clear. The only image which
seems to remain fairly blurry is cathedral.jpg, for which advanced techniques might be more helpful. I think
the image can be made significantly sharper by using more careful edge detection. Specifically, accentuating
the edge of the cathedral would likely produce good results.
Additionally, it would be great to implement a more efficient contrast normalization, or explore other techniques,
which would produce a more natural coloration for some of the images. Along similar lines, automatic edge detection
and cropping would be a great plus for images of more varying sizes.