1.7: Image-to-Image translation
Here, we're going to take the original test image, noise it a little, and force it back onto the image manifold without any conditioning. Specifically, we run the forward process to get a noisy test image. Then, we run theiterative_denoise_cfg function using a
starting index i_start of [1, 3, 5, 7, 10, 20] steps, with conditioning towards
prompt "a high quality photo". We see a series of "edits" to the original image,
gradually matching the original image closer and closer as we delay i_start,
which corresponds to fewer iterations of diffusion.
Edits to Campanile using prompt "high quality photo"


Capybara Edits


White House Edits


1.7.1: Editing Hand-drawn and Web-Images
The procedure above works particularly well if we start with a nonrealistic image (e.g. painting, a sketch, some scribbles) and project it onto the natural image manifold. That is exactly what we do here.
Web Image 1: Mario


Hand-drawn 1: Duck


Hand-drawn 2: Ship


1.7.2: Inpainting
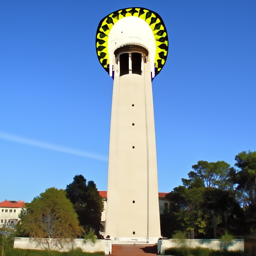
We can use the same procedure to implement inpainting. Given an image \(x\) and
a binary mask \( m \), we compute a new image \(x'\) which has the same content as
\(x\) where \(m\) is 0, but creates content where \(m\) is 1. We run the diffusion
denoising loop as normal, but now
\[ x_t \gets m \cdot x_t + (1-m)\cdot \textup{forward}(x,t)\]
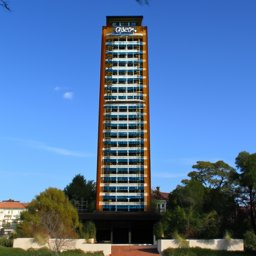
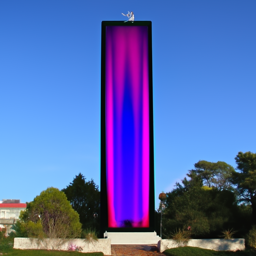
is the noisy image. The idea is that with the mask of a certain region, inpaint
allows us to edit the image within the context of the background. This can allows us to make
interesting changes to images, as seen below: we show the inpainted image, and also
the upsampled version of \( 256 \times 256 \) size for clarity.
Changing the top of the campanile with square mask


Modernizing the Campanile


Nether Portal


Circular mask to replace a clock


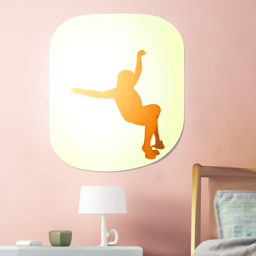
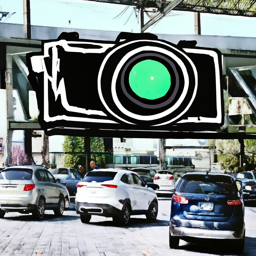
Rectangular mask to replace billboard: Camera


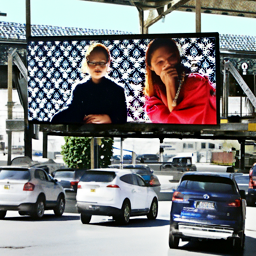
Rectangular mask to replace billboard: Creepy


1.7.3: Text-Conditional Image-to-image Translation
Campanile -> prompt = "a rocket ship"


Campanile -> prompt = "a tall redwood tree"


South Africa Map -> prompt = "face of a rhino"


Moon -> prompt = "a circular pizza pie"


