Part 1: Randomly Sampled Texture
Overview
In this section, we implemented the quilt_random function,
which generates an output image of a specified size out_size by randomly sampling square
patches of size patch_size from a given texture sample. The function begins tiling the output
image from the upper-left corner, placing randomly selected patches until the image is filled.
If the patches do not perfectly fit the dimensions of the output image, the remaining edges
are left as black borders.
While this method is straightforward and computationally efficient, it obviously produces
visible seams and lacks coherence between adjacent patches, resulting in a less realistic
texture.
Results
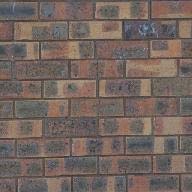
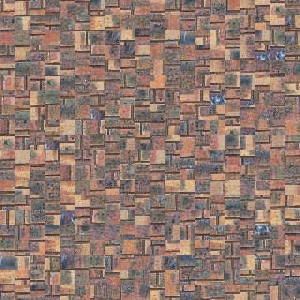
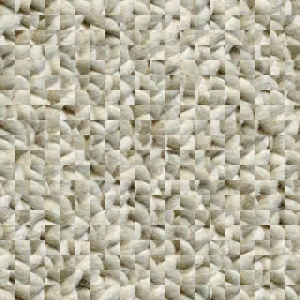
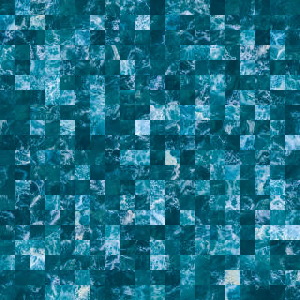
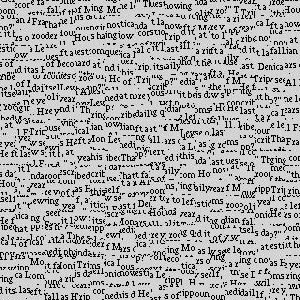
Below we present some examples of using the quilt_random(sample, out_size, patch_size). Parameter choices
are out_size = 300 and patch_size = 25 consistently.
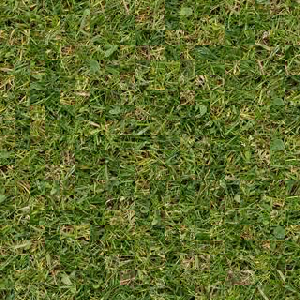
We see that out of these textures, the only one that looks reasonably good when randomly quilted is
grass.jpg. The explanation is simple: grass has the fewest edge artifacts and seams of all
the images, hence was the easiest to quilt. This trend continues throughout the project: Textures with
less dominant seams and edges are easier to quilt (and texture transfer).




Part 2: Resolving Overlapping Patches using SSD
Overview
The function quilt_simple generates an output image of size
out_size by arranging patches of size patch_size. The process begins with a
randomly selected patch for the upper-left corner. Subsequent patches are sampled to overlap with existing
patches. For example:
- The second patch along the top row overlaps horizontally by
overlappixels. - Patches in the first column overlap vertically by
overlappixels. - Other patches overlap both horizontally and vertically.
The cost of placing each patch is computed, and a random patch is chosen from the lowest tol
samples. This is done with two helpers:
1. ssd_patch
This function calculates the cost of a patch using the sum of squared differences (SSD) between the overlapping regions of the existing output and the sampled patch:
                            ssd_cost = ((M*T)**2).sum() - 2 * cv2.filter2D(I, ddepth=-1, kernel=M*T)
                                 + cv2.filter2D(I**2, ddepth=-1, kernel=M)
Here, T is the sampled patch, M is the mask,
and I is the input texture.
2. choose_sample
This function selects a patch based on the cost map from ssd_patch. It identifies patches
with the lowest costs and randomly chooses one from the top tol smallest costs. For debugging,
setting tol=1 ensures that the patch with the absolute lowest cost is always chosen, resulting
in a near-exact copy of the input texture. Higher tol gives more variability and stochasticity to
the texture generated.
Results
Below we present some examples of using the quilt_simple(sample, out_size, patch_size). Parameter choices
are out_size = 300 and patch_size = 25 consistently.
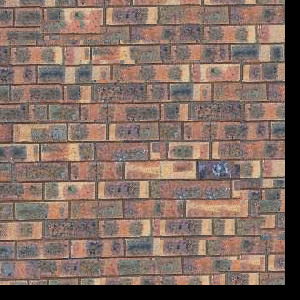
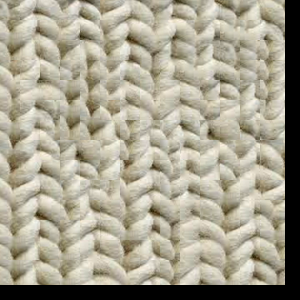
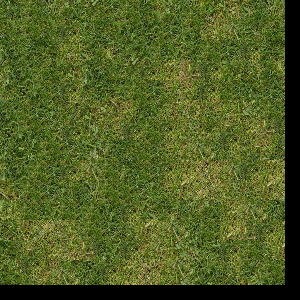
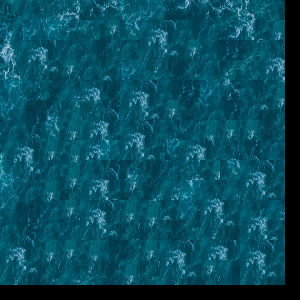
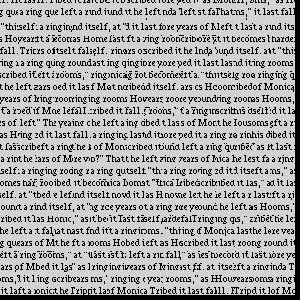
The results show a marked improvement over the quilt_random approach, but some seams and artifacts
remain noticeable in specific images. This is particularly apparent in textures with strong edges, such as
bricks_small.jpg or text_small.jpg, where the quilting process encounters greater challenges
in achieving smooth transitions.
An intriguing aspect of the algorithm is how minimizing the sum of squared differences (SSD) enables it to
"understand" the importance of aligning edges. High-contrast regions, like edges, act as dominant outliers under
an \( L^2 \) norm and drive the matching process. For instance, in the generated texture, the seams between bricks are mostly
well-aligned, reflecting the influence of SSD optimization. In contrast, an earlier bug in the code, which
caused ssd_patch to select random invalid patches, resulted in poorly aligned seams, emphasizing
the importance of proper patch selection.
While these results approach optimality, the visible seams to the naked eye highlight the limitations of this method. In the next section, introducing a minimum cut technique addresses these issues.





Part 3: Resolving Seams using Min-Cut
Overview
To address the edge artifacts caused by overlapping patches, the next step incorporates seam finding into
the texture synthesis process.
The process utilizes the cut function from utils.py, which determines the minimum-cost
contiguous path from one side of a patch to the other, based on a cost map (bndcost). The cost
of a path through each pixel is calculated as the squared differences (summed across RGB channels for color
images) between the overlapping regions of the output image and the newly sampled patch. For horizontal paths
(left overlaps),
the function works directly, while for vertical paths (top overlaps), the transposed cost map can be used
(cut(bndcost.T).T).
If a patch has both top and left overlaps, two seams must be computed—one for each overlap. The final mask
is defined as the intersection of the masks generated by each seam, using np.logical_and(mask1, mask2).
To illustrate the process, we include a visualization for a selected patch, highlighting the following steps:
- (a) The two overlapping RGB portions: the patch already in the output image (template) and the newly selected patch.
- (b) The per-pixel SSD cost of the overlapping region, masked by the template mask.
- (c) The binary horizontal mask indicating which pixels are retained from the new patch versus the existing template.
- (d) The binary vertical mask for the same purpose, applied to the vertical seam.
- (e) The final combination mask created by intersecting the horizontal and vertical masks.
Results
Here, we use patch_size = 25, out_size = 600, and overlap = 5.
Following the guidelines provided in the paper, we approximately choose overlap = patch_size // 5.
The purpose of increasing the first two parameters is to produce more visually appealing results. This ensures that any color
inconsistencies (as blending is not yet applied) are less noticeable. Additionally, a larger patch size provides more patches,
giving the texture pattern more flexibility to synthesize high-quality information. It also makes the individual blocks less discernible.
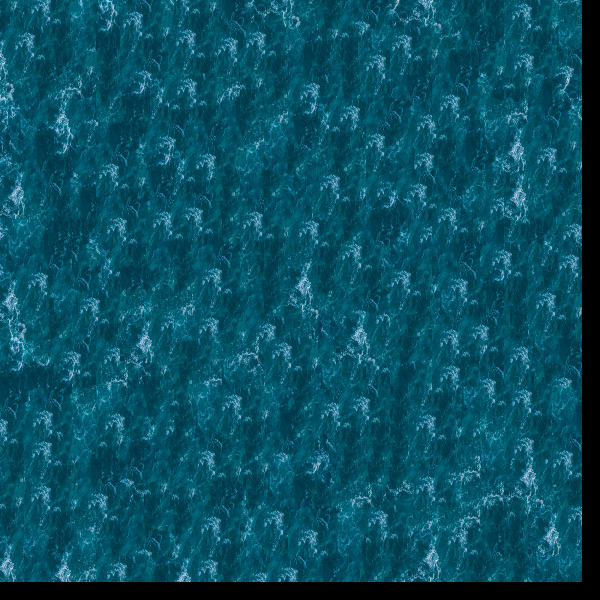
However, for the water texture, we use out_size = 300. This is because water lacks significant edges or
abrupt color changes that might appear odd without blending from nearby regions.
Observations on the Min-cut Path
This ended up being a longer section than expected. To see the results and explanation for this part (which shows the min-cut path and masks), click the link.Analysis of min-cut path for image quilting.
Comparison with Other Methods
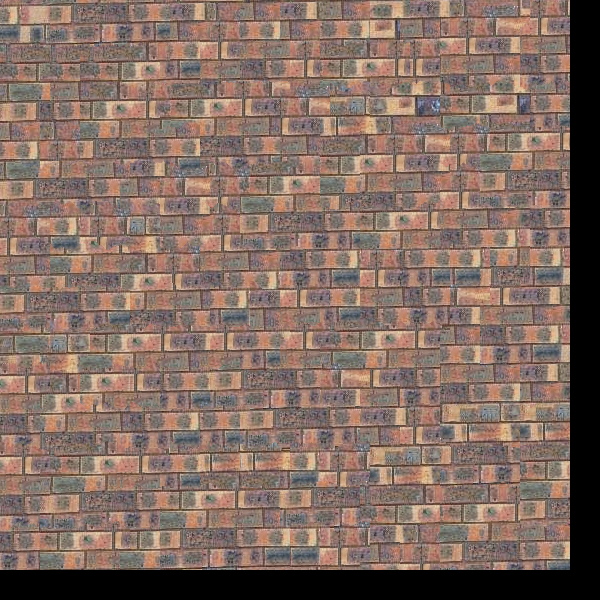
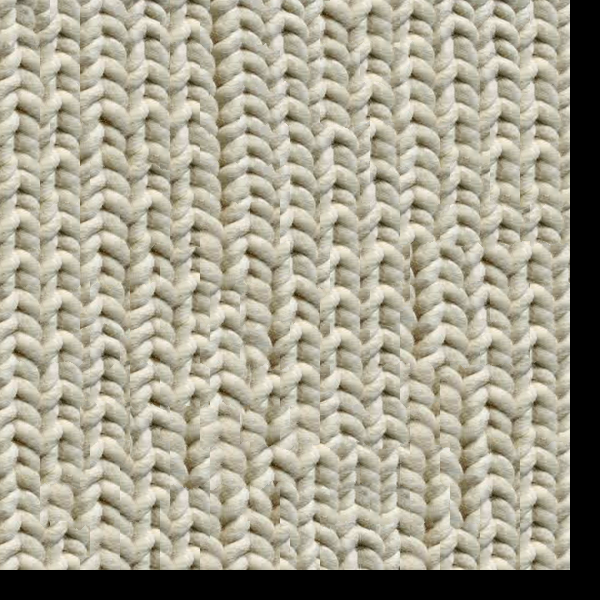
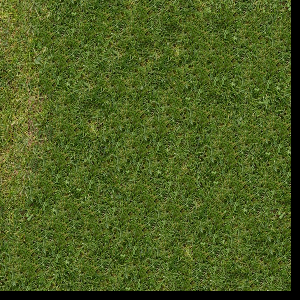
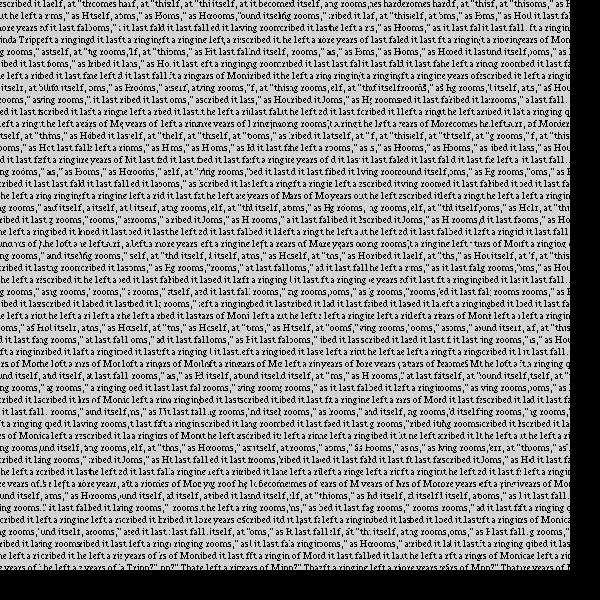
Below are results ofquilt_cut when compared to the other methods.
Our observations from before hold: quilt_random barely produces cohesive texture, only
doing so for images with very few edge-artifacts (i.e. images with near constant pixel value e.g. still water being
the same blue consistently). While quilt_simple does much better and actually aligns edges together reasonably well,
it still produces vertical and horizontal seams due to the square-mask chosen. Instead, what works best is choosing an irregular mask
informed by the min-sdd_cost contiguous path: results with quilt_cut have barely visible seams and produces interesting new
texture with sufficient overlap.
Brick


Cloth


Grass


Water


Text


Part 4: Texture Transfer
Overview
The texture transfer method builds on the quilt_cut
function to synthesize a new texture that not only mimics the source texture's
appearance but also aligns with a target image's structure or pattern. This technique
is guided by a pair of images: sample, which serves as the source
for patch sampling, and a guidance_im, which defines the structure that the
synthesized texture must follow.
The key difference between texture_transfer and quilt_cut
is the inclusion of an additional cost term that evaluates the difference between the source patch
and the target image at the location being synthesized. This added cost ensures that the output texture
aligns more closely with the features of the target image. The total cost for a patch is a weighted sum of:
- The cost of aligning overlapping regions (as in
quilt_cut). - The cost of matching the source patch to the target image.
The parameter \( \alpha \) can be adjusted to balance how much the output prioritizes matching the target image versus preserving the texture pattern of the sample.
Results
In implementing texture_transfer, careful tuning of parameters was essential for achieving
realistic results:
-
Output Size and Patch Parameters:
out_sizewas set to 600, withpatch_sizevalues of 25 or 15 and correspondingoverlapvalues of 5 or 3, respectively.- Increasing overlap often made the textures appear unnatural.
- Using larger patches (
patch_size) highlighted seams, while smaller patches required more computation and occasionally resulted in unrealistic textures.
-
Alpha:
The blending weightalphawas set to 0.2, which worked well for smoothing overlapping regions. -
Tolerance:
tolwas set to 2, allowing little variability in patch selection. While highertolvalues introduced greater texture variety, they occasionally produced unwanted variability that disrupted the desired image (e.g., selecting unsuitable patches for the target structure). This is because there are likely few patches that work well.
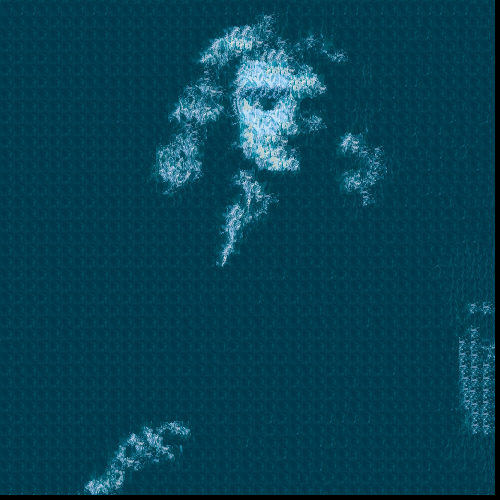
Texture transfer was generally more effective with target images containing fewer edges, as fewer constraints made the synthesis process simpler. However, an absence of edges also reduced contrast, making it harder to recreate features. For example, the blend of water and Newton has few edge details.
On the other hand, blends with distinct edges performed better, though the implementation often made the patch blocks more visible. This suggests that an iterative approach—starting with larger patches and progressively refining with smaller patches—could significantly improve results. Similarly, incorporating advanced blending techniques could further reduce visible seams, as explored in the "Bells & Whistles" section.
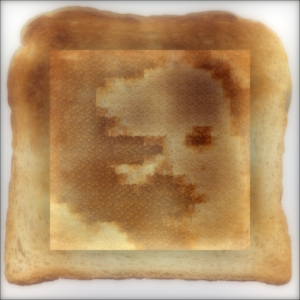
Bells and Whistles: Face in Toast (Image Quilting + Laplacian Blending)
Overview
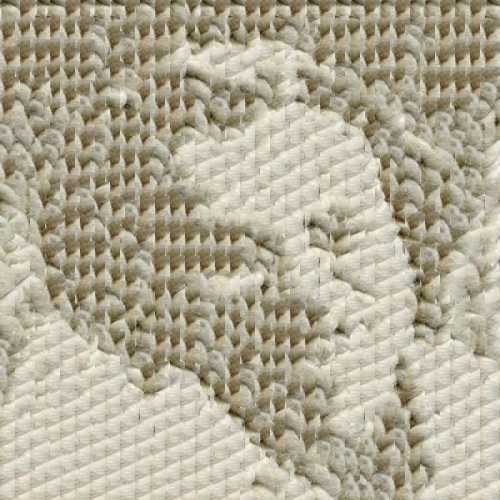
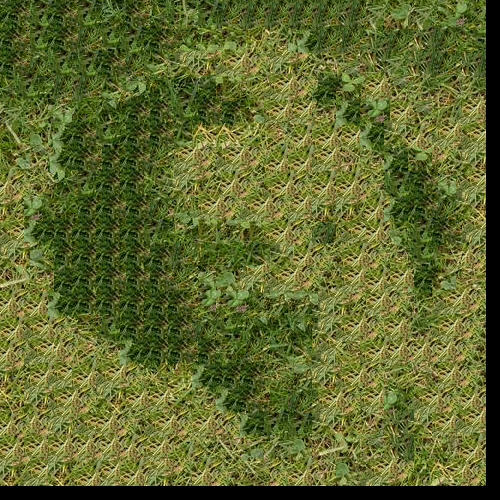
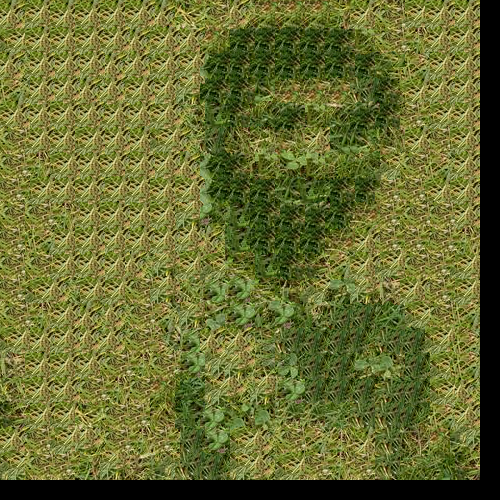
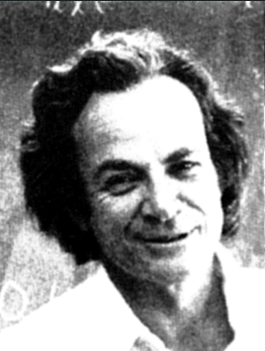
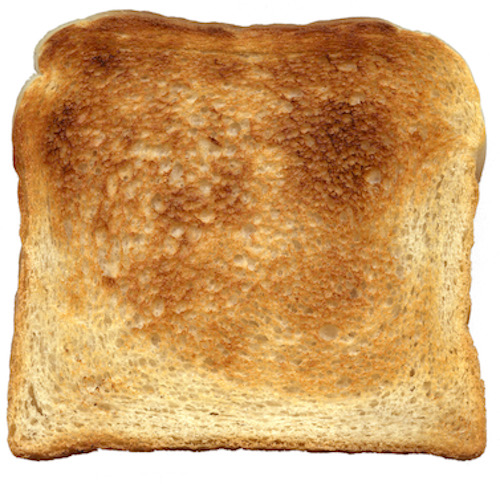
In this section, we explore the use of blending and quilting techniques for texture transfer. Our goal was to fix the challenge of placing Feynman's face onto a toast texture. While the results are mostly disappointing, some promising directions were identified. Below are the optimal parameters used during experimentation:
- Quilting:
out_size = 600, patch_size = 20, overlap = 5, tol = 3 - Blending:
depth = 4, sigma = 2, skip = 2 - Alpha Range: \( 0.20 \le \alpha \le 0.45 \), suitable for naive texture transfer.
-
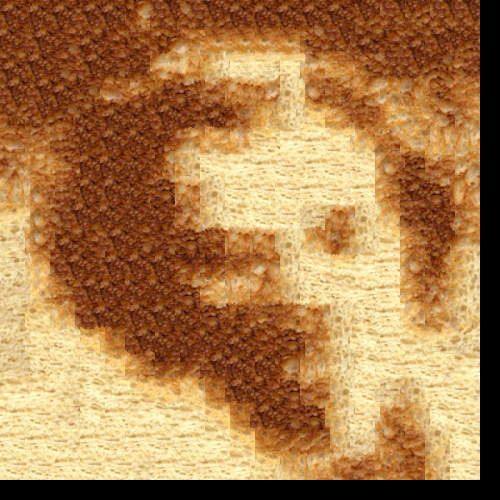
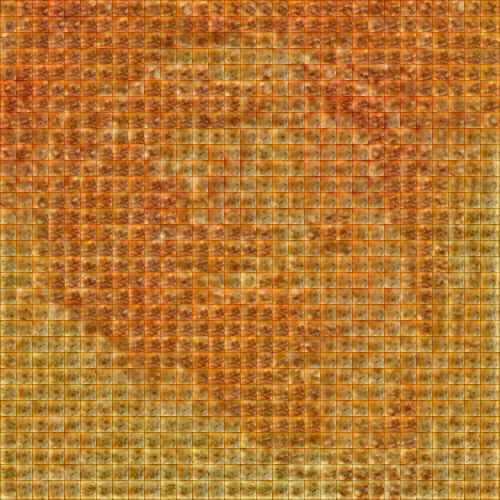
The most promising result was achieved using naive texture transfer combined with Laplacian blending and a mask at the end. This method shows the potential to produce better results, though limitations in the Project 2 (Laplacian Blending) code made the outcomes less satisfactory. I think averaging the brightness and color contrast of the source and target images could significantly enhance blending.
-
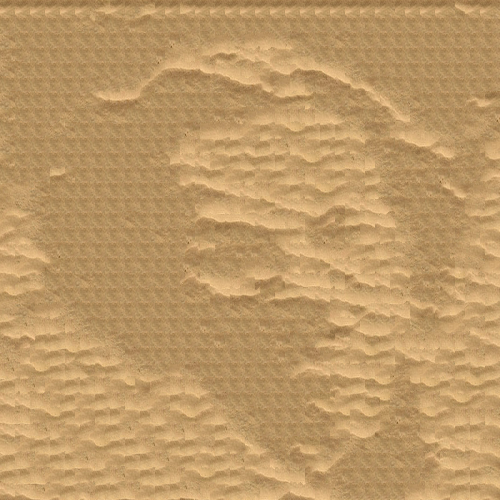
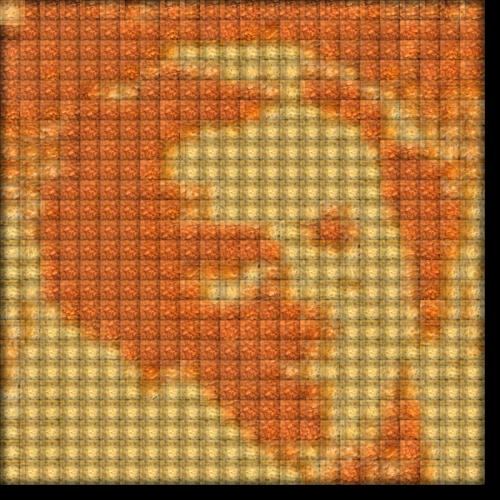
Texture transfer with patch-wise blending worked surprisingly well for reconstructing Feynman's face while removing texture oddities. However, the block seams remained too visible. This issue arises because the blending process lightens the overlapping patch while darkening the non-overlapping regions, leaving a noticeable disparity.
-
To address the visible seams, a 2D Gaussian blur was applied to the overlapping borders. While this reduced seam visibility, it resulted in noticeably thicker and still distinguishable seam regions. This suggests that while blurring helps with smoothing, it may require more sophisticated techniques to truly integrate the patches seamlessly.
Based on the results, the following improvements can likely be made:
- Brightness and Contrast Adjustment: Prior to blending, equalizing the brightness and contrast of the source and target images may create a more cohesive blend.
- Advanced Seam Blending: Explore methods like multiscale blending or adaptive masking to better integrate overlapping regions and reduce visible seams.
- Iterative Refinement: Experiment with iterative approaches to progressively refine the blend, starting with coarse adjustments and moving to finer details.
- Fourier Transforms: This is more just a thought, but I think Fourier Transform Methods as in the class could be particularly helpful in implementing texture transfer. This is because as seen with minimizing SSD, we can rephrase image quilting as an edge alignment problem. This can be resolved by decomposing into high and low frequencies.
Texture Transfer Standard

Texture Transfer with Patch-wise Blending


Texture Transfer with Patch-wise Blending and Corner Blurring


Texture Transfer with overall Blending only


